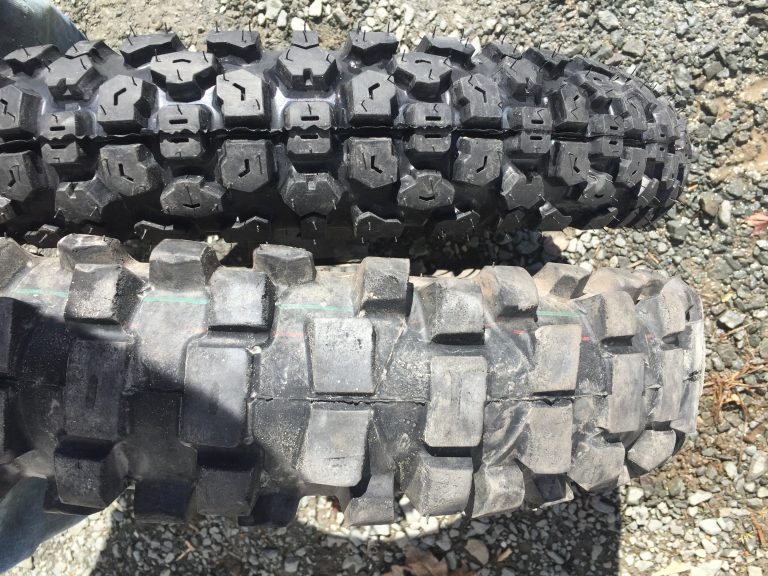
Hawk 250 Tire Sizing Guide
Before I purchased my new Shinko 244 tires I had to do some research because any website you go to buy these tires, it will have bunch of different sizes and numbers and I had no idea what all that meant =). Doing some quick googling and research I found a website that I think…